
How to attach our modular picture hooks

If you order several mounted posters or in other special cases we deliver the hanging system not yet attached to the poster panels.
Here is how you can easily setup the fixtures.
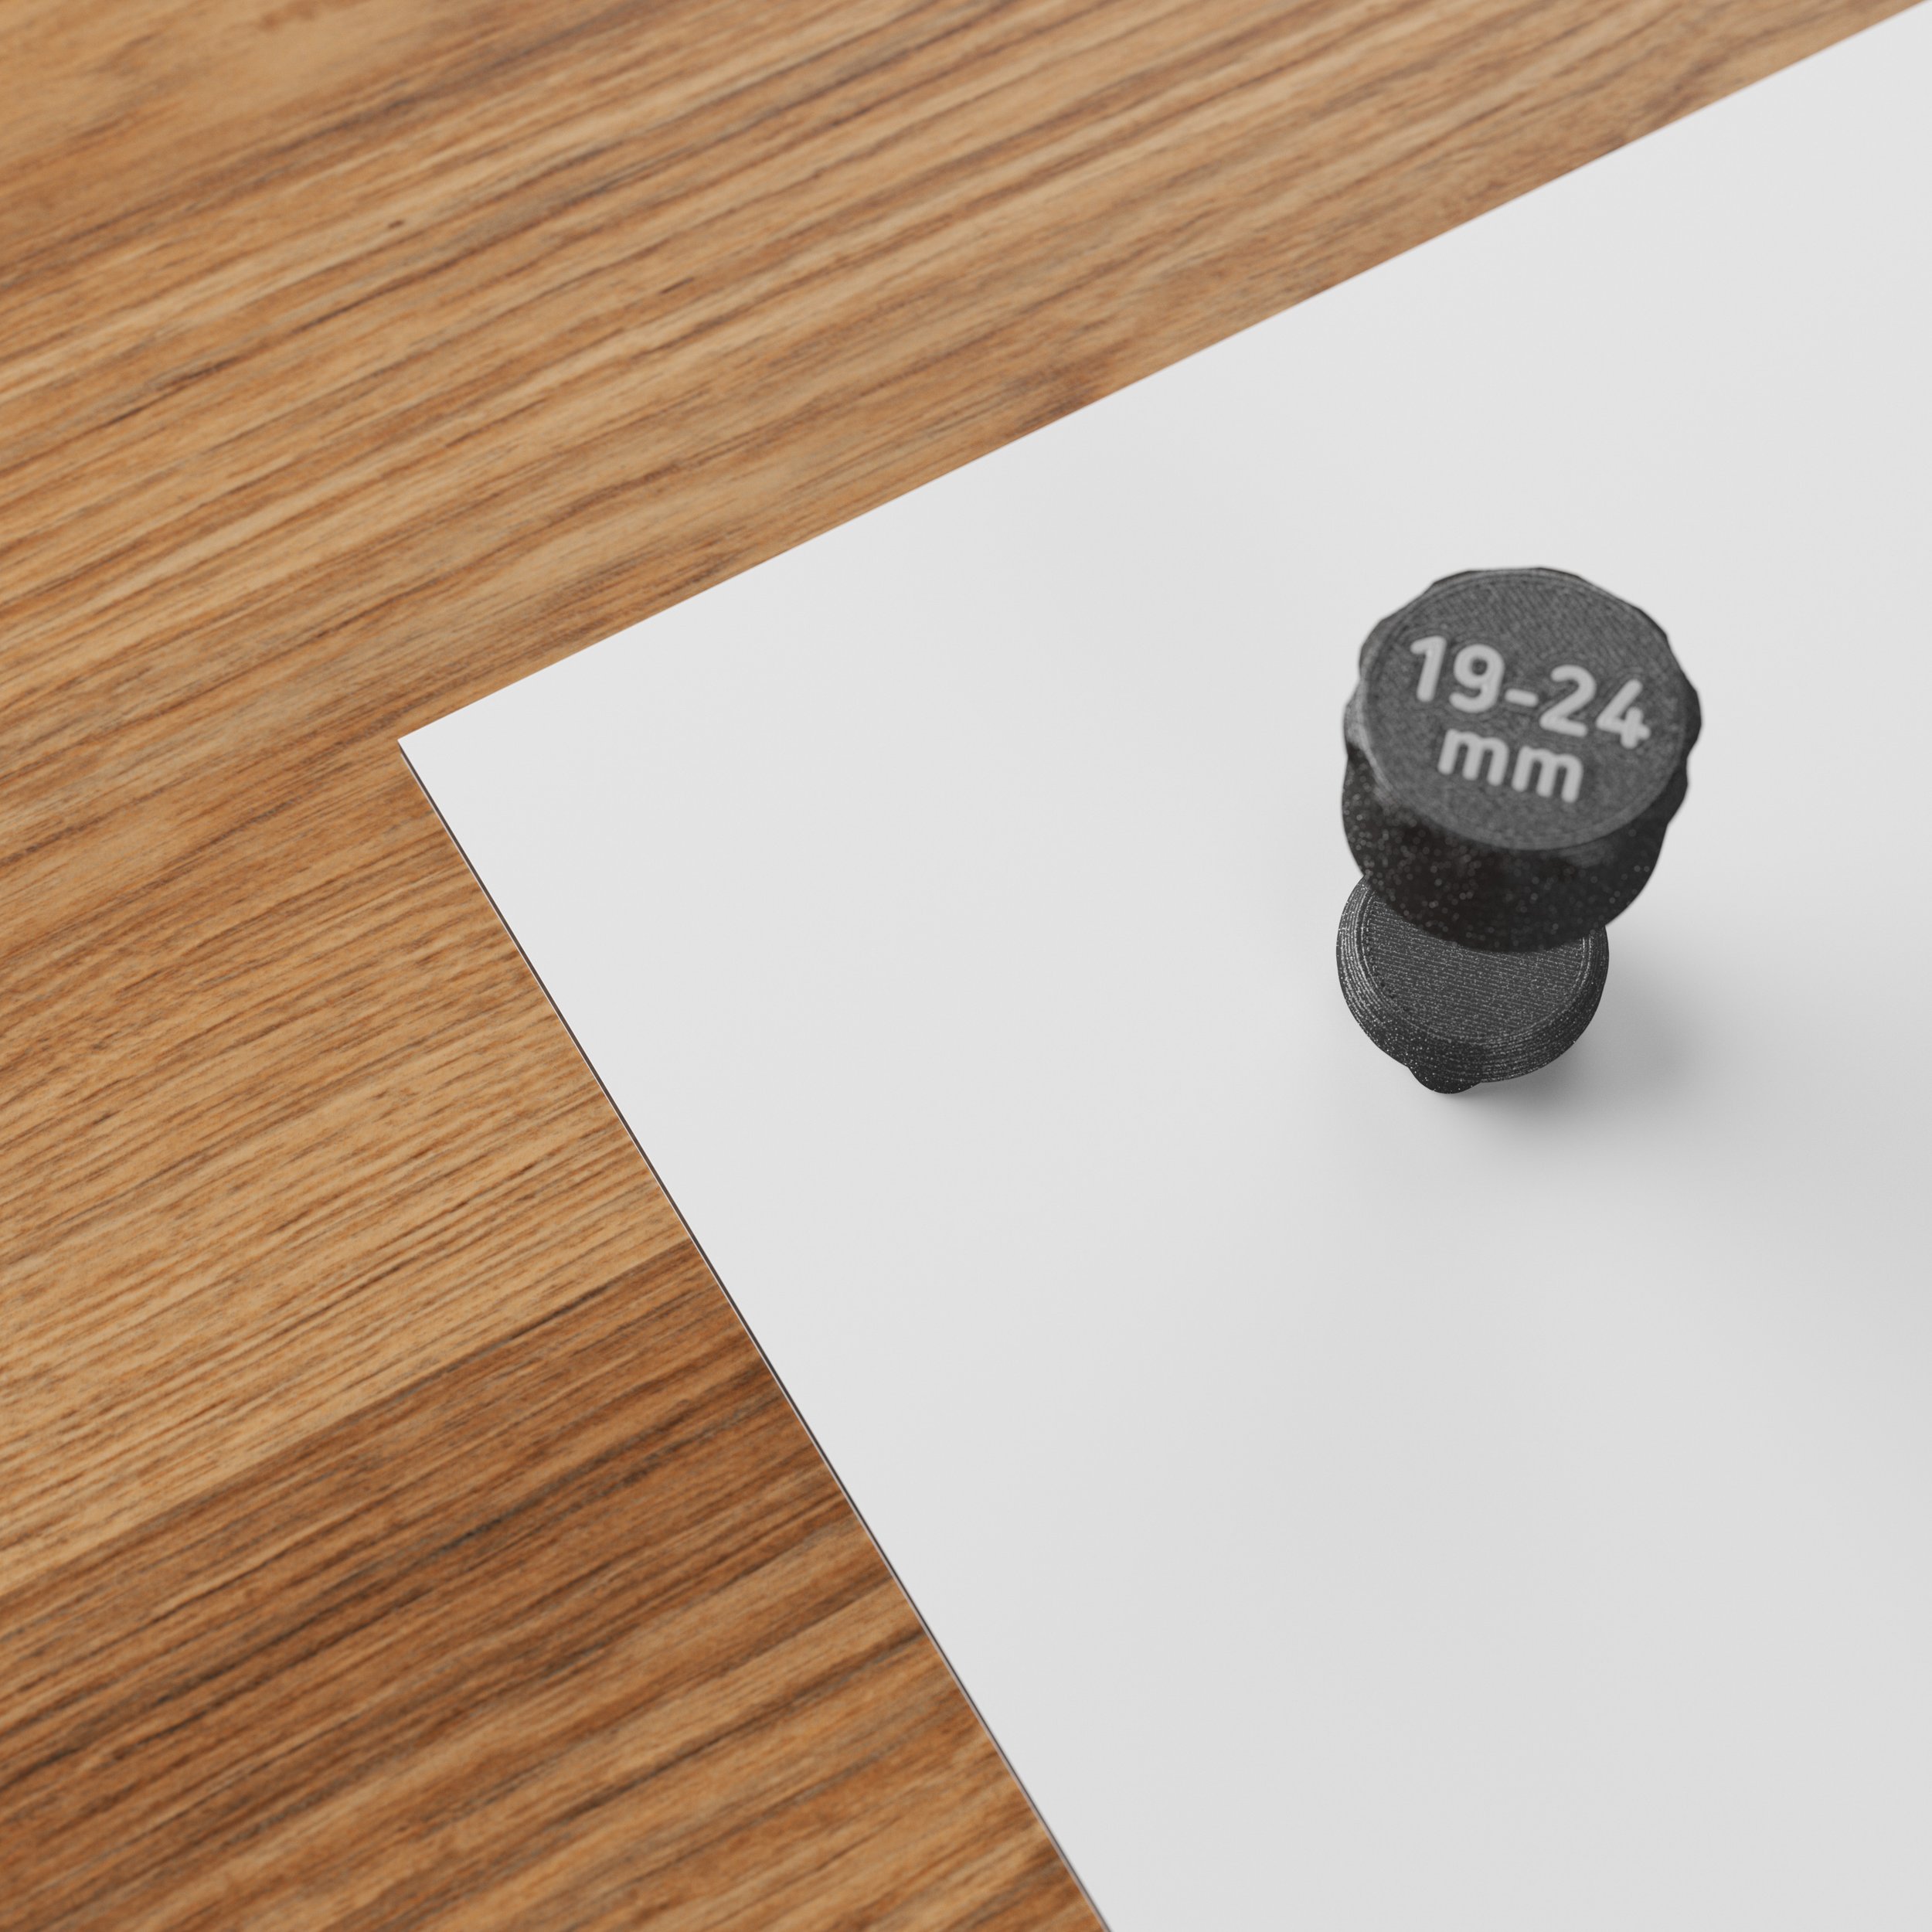
The set consists of the following parts: Two orange centering aids to help you assemble the individual parts of the hanging system and ensure precise mounting. The black parts together make up the suspension system: On the right-hand side you find the main picture hook. On the left-hand side you find the four elements of the spacers, two for each side. The spacers consist of a base element that is glued to the panel and a cap that is screwed onto this base element.
The hook and leveling system is developed and manufactured by Andreas Mass.
Mounting the hook

Step 1
Turn the board upside down so that the back is facing upwards. Use one of the cardboards used for the packaging as a base on the table to protect the paper surface of the poster.
Locate the small mark in the center of the top edge of the panel.

Step 2
Place the centering aid on top of the mark.

Step 3
Remove the protective film from the back of the fixture and place the fixture on the centering aid.

Step 4
Glue the fixture to the panel as shown. Press the part firmly into place.

Step 5
The centering aid places the bracket at a distance of 70 mm from the top edge of the panel. The resulting distance of the hook hole from the top edge of the panel is 85 mm. Use this distance to place your nail or screw on the wall.
The serrated shape of the hooks allows you to find the best position for horizontal balance.
Mounting the spacers

Step 6
With just the hanger, the panel would tilt downwards. To avoid this, attach the spacers to the corners of the panel. To do this, place the centering aid on one of the lower corners.

Step 7
Remove the protective film from the adhesive surface on the back of the spacer’s base element. Place the fixture on the panel using the centering aid.

Step 8
Press the base element firmly onto the panel.
The center of the spacer is placed at a distance of 85 mm to each side of the board.
Step 9
Screw the cap of the spacer onto the threading of the base element.

Step 10
In order to compensate for any unevenness of your wall, or to adjust the panel’s tilt to your liking you can adjust its height between 19 and 24 mm. Repeat the same process for the second spacer.

Hang up your new piece of art and enjoy it!